Breaking News
AFFPEERS
Solutions that Drive Affiliate Growth
Whether you’re a small business owner, a blogger, or someone just looking to establish an online presence, you can get your site up and running without breaking a sweat. Let’s dive into how you can make this happen.
Let’s start with the basics: Why WordPress? Well, WordPress powers a huge chunk of the internet—over 40% of all websites, in fact. It’s like the Swiss Army knife of website platforms: versatile, powerful, and user-friendly. Plus, it’s open-source, which means there’s a massive community of developers constantly improving it and creating plugins that make your life easier.
Before you start creating, you need a place to host your website. Think of hosting as the foundation of your website’s home. If the foundation isn’t solid, you’re going to run into problems. So, what are your options?
If you’re just starting out and budget is a concern, shared hosting might sound like a good idea. It’s cheaper because you’re sharing server space with other websites. But, just like sharing a pizza, it means you get a smaller slice of resources, which can slow down your site.
On the other hand, managed WordPress hosting is like having a personal chef. It’s more expensive, but you get a server environment optimized specifically for WordPress, which means faster load times, better security, and a team of experts ready to help you out when things go sideways.
This proved to be the catalyst for Elementor’s latest solution: the Elementor Cloud Website. The Elementor team aimed to overcome this challenge. The Elementor Cloud Website is a new tool that will expand the WordPress website builder’s offerings with built-in hosting features.
This hosting solution is based on the Google Cloud Platform, known for world-class security, scalability, and reliability. The platform offers 20 GB storage, 100 GB bandwidth, and 100K monthly visits which are enough for most types of websites. What it means is that with Elementor’s Cloud Website, web designers and developers can build and host their WordPress websites without the need to switch between different tools.
Elementor isn’t just any old page builder—it’s a game-changer. It’s like having a designer and developer right there with you, holding your hand as you create your site. You get to see your changes in real-time, so if you don’t like something, you can tweak it until it’s just right.
Plus, Elementor comes with tons of pre-designed templates, so if you’re not feeling particularly creative, you can start with one of those and customize it to fit your brand.
Creating a new website with Elementor Cloud Website is a breeze, even if you’re new to the platform. The process is streamlined to save you time, so you can focus on bringing your vision to life. Ready to get started? Here’s how it works.
If you are an Elementor user, you can log in to the Elementor admin panel where you will see a large button named “Create Cloud Website” at the top right corner of the page:
Once you click this button, you will be invited to provide basic information about your website step-by-step. You will provide the website’s name, domain name, and type of website.
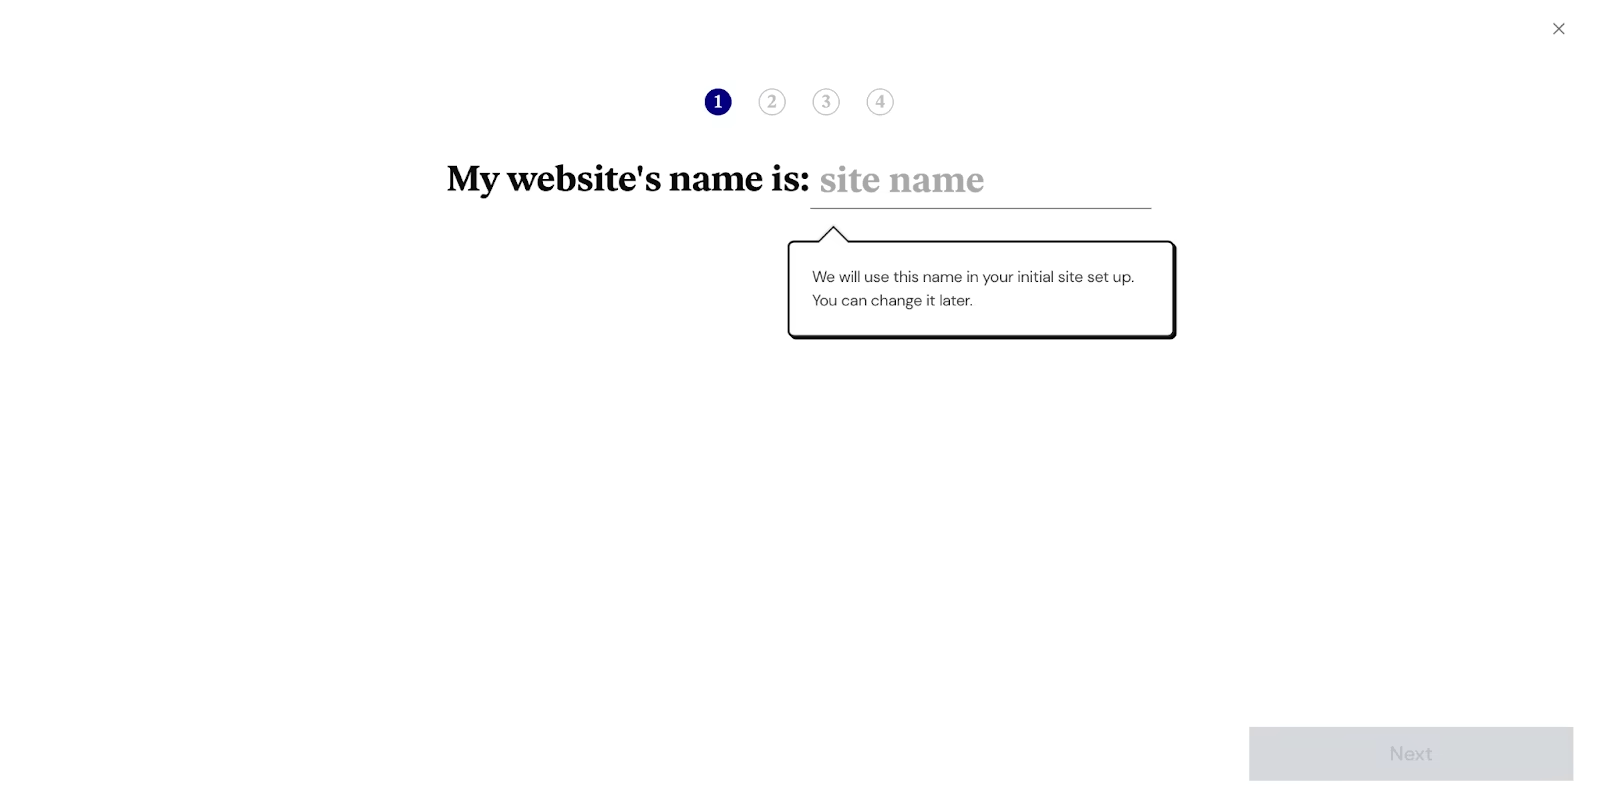
In the first step, you’ll need to enter your site’s name. This will be the identifier for your website, so choose something that represents your brand or project well.
By default, all websites created with Elementor Cloud Website are hosted on a subdomain ending in .elementor.cloud, but don’t worry—you can easily connect your custom domain later at no extra cost.

Next, you’ll be asked to choose the host name for your site. This is an important step, as it determines the web address where your site will be accessible.
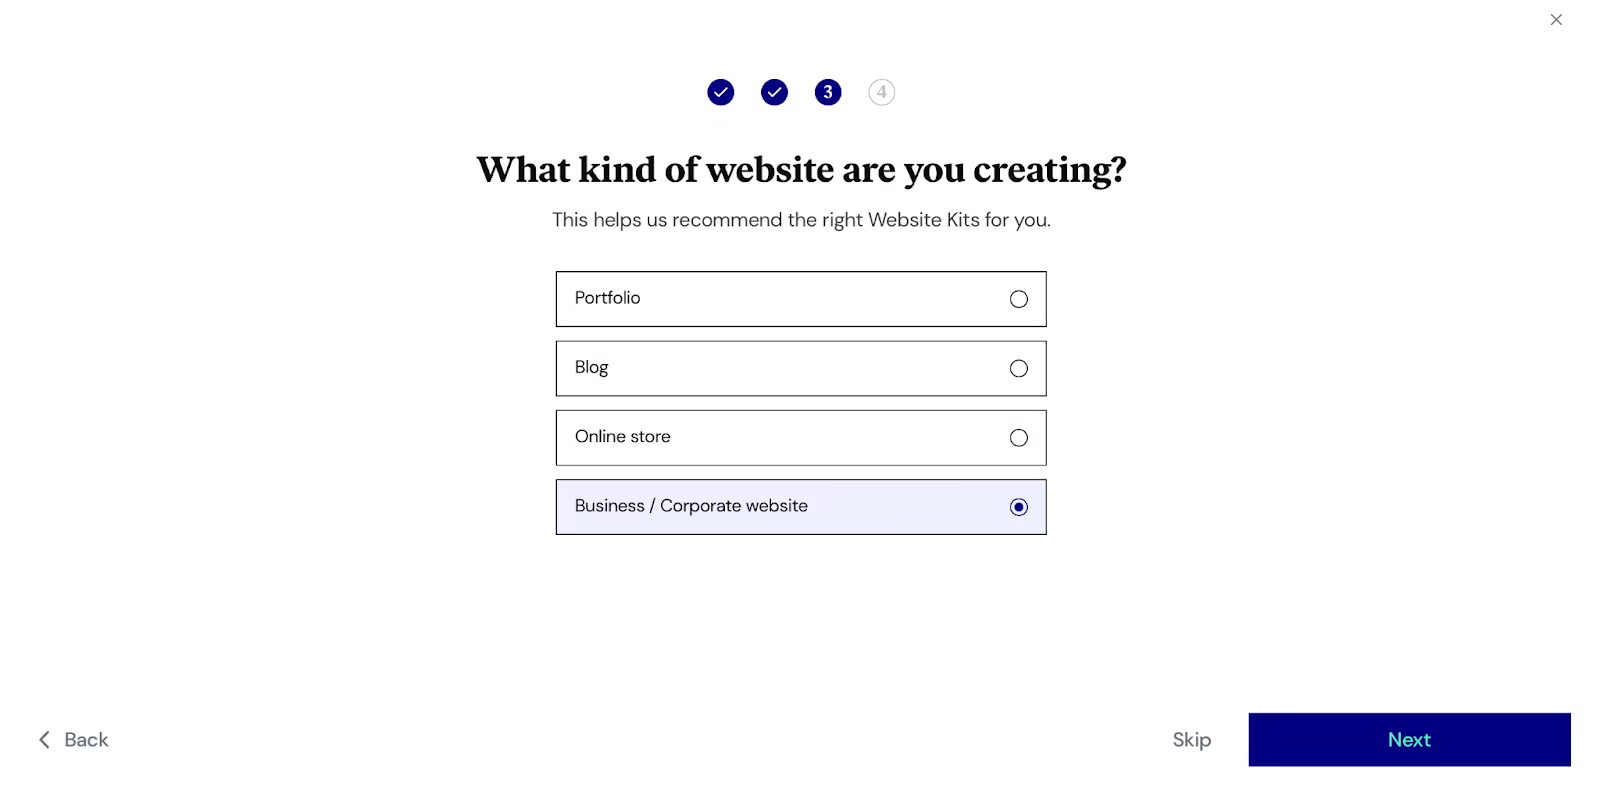
After that, you’ll select the type of website you want to build. Based on your choice, Elementor will suggest a relevant pre-designed website kit to help you get started quickly. This step is perfect for those who want a bit of inspiration or a head start on the design process.
Finally, you’ll choose a visual kit for your website from the available options. These kits are pre-designed themes that you can customize to match your style. If you prefer to start from scratch, that’s an option too. For our example, we decided to go with the Basic kit suggested by Elementor.
Once you’ve made your selection, Elementor will begin creating your website. The process only takes a few minutes, and before you know it, you’ll have a shiny new website ready to go. In our case, we created a site called “WakeUp.”
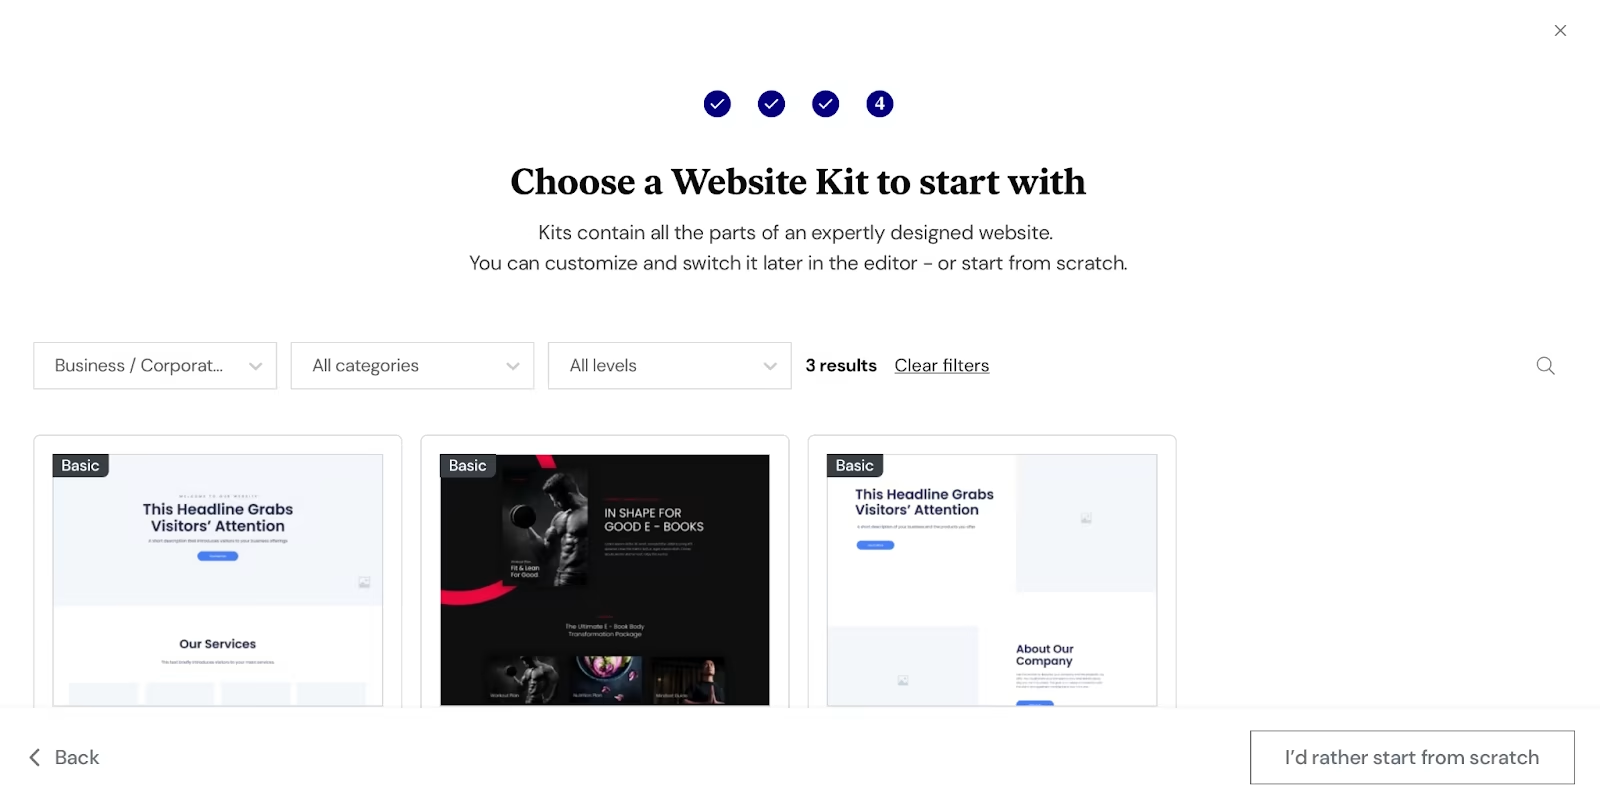
Lastly, you will be asked to choose the visual kit for your website from the list of available options. You can always choose to design a website from scratch. For our example, I decided to use the Basic kit from the list suggested by Elementor.

You might notice a badge that says “Site Lock is On.” This feature ensures that search engines won’t index your site while you’re still working on it, so you don’t have to worry about anyone stumbling upon your unfinished website.
So, what exactly do you get with your newly created website? You’ll have access to the full WordPress dashboard, the Elementor editor, and your website’s settings, giving you everything you need to start designing right away.
When you hover over your new project—like our “WakeUp” site—you’ll see contextual options such as “Open WP Dashboard,” “Edit with Elementor,” and “Manage This Website.” To start customizing your site, click on “Edit with Elementor,” and you’ll be taken straight into the editor where you can begin building your website just the way you envisioned it.

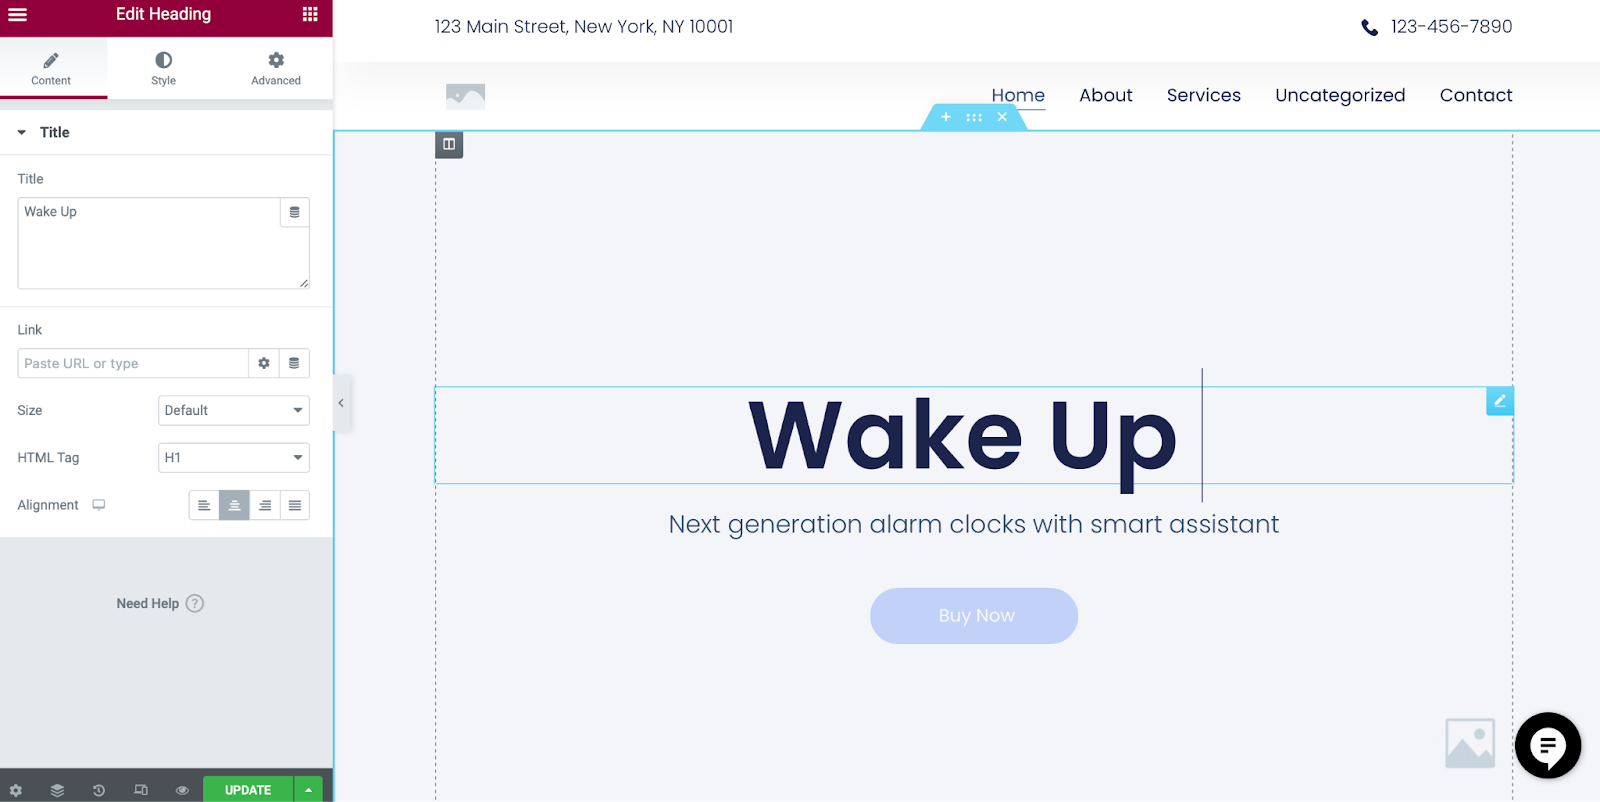
All front-end designs of your website can be done with the Elementor editor. Elementor offers a WYSIWYG (What You See Is What You Get) editor for your web pages. When you introduce changes to your web page, you immediately see the results of your changes. For example, when we want to change the text in the hero section, all we need to do is to click on the content block and modify the text in it.
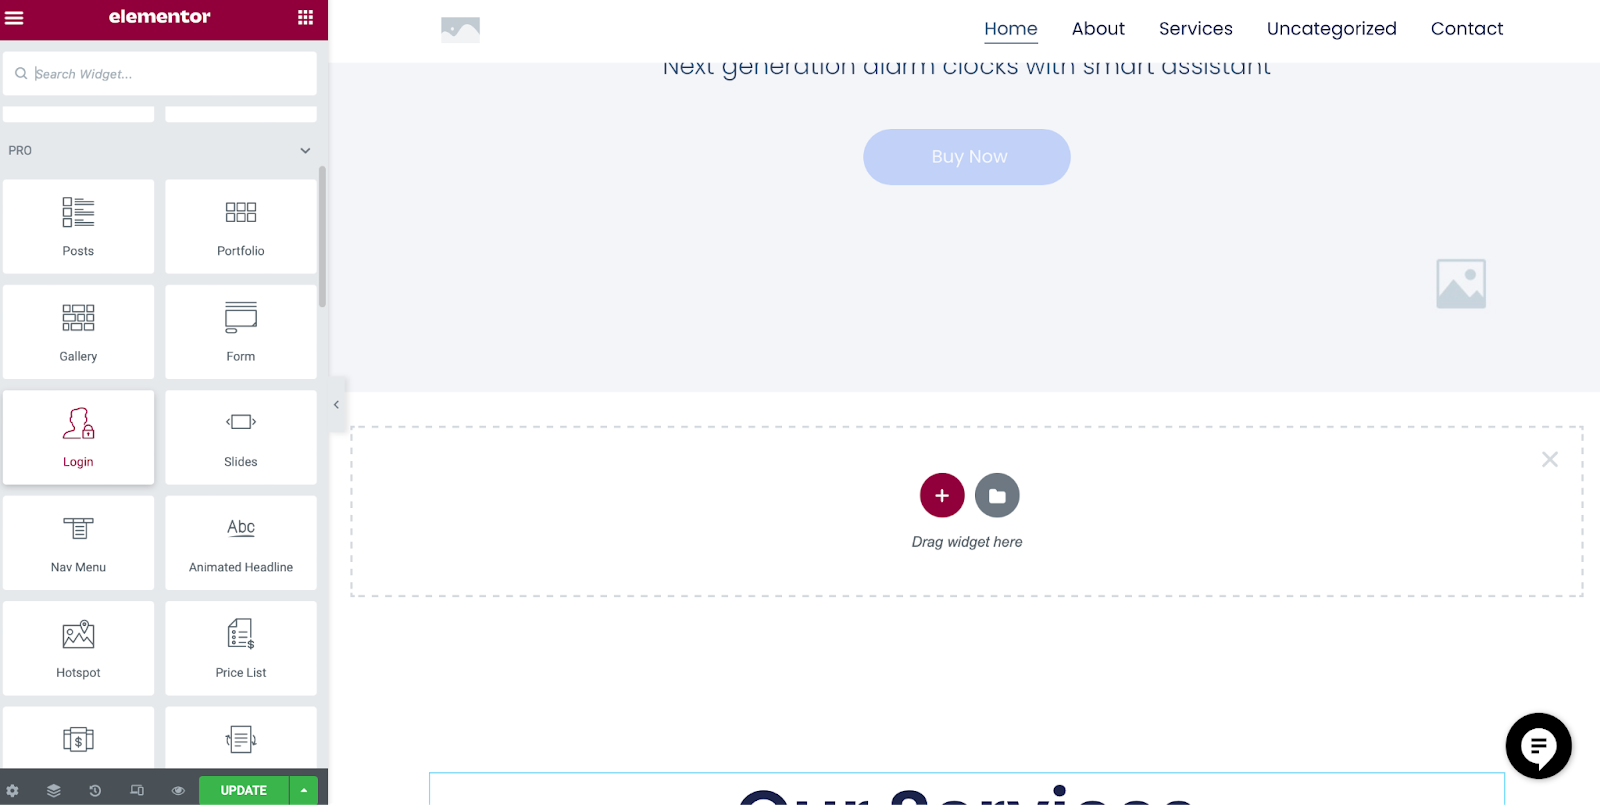
If you want to add a new content section on your page, add a new section, choose the most relevant widget from the collection of 100+ widgets, and drag & drop it into this section. Elementor supports almost all types of content — from text to visuals.
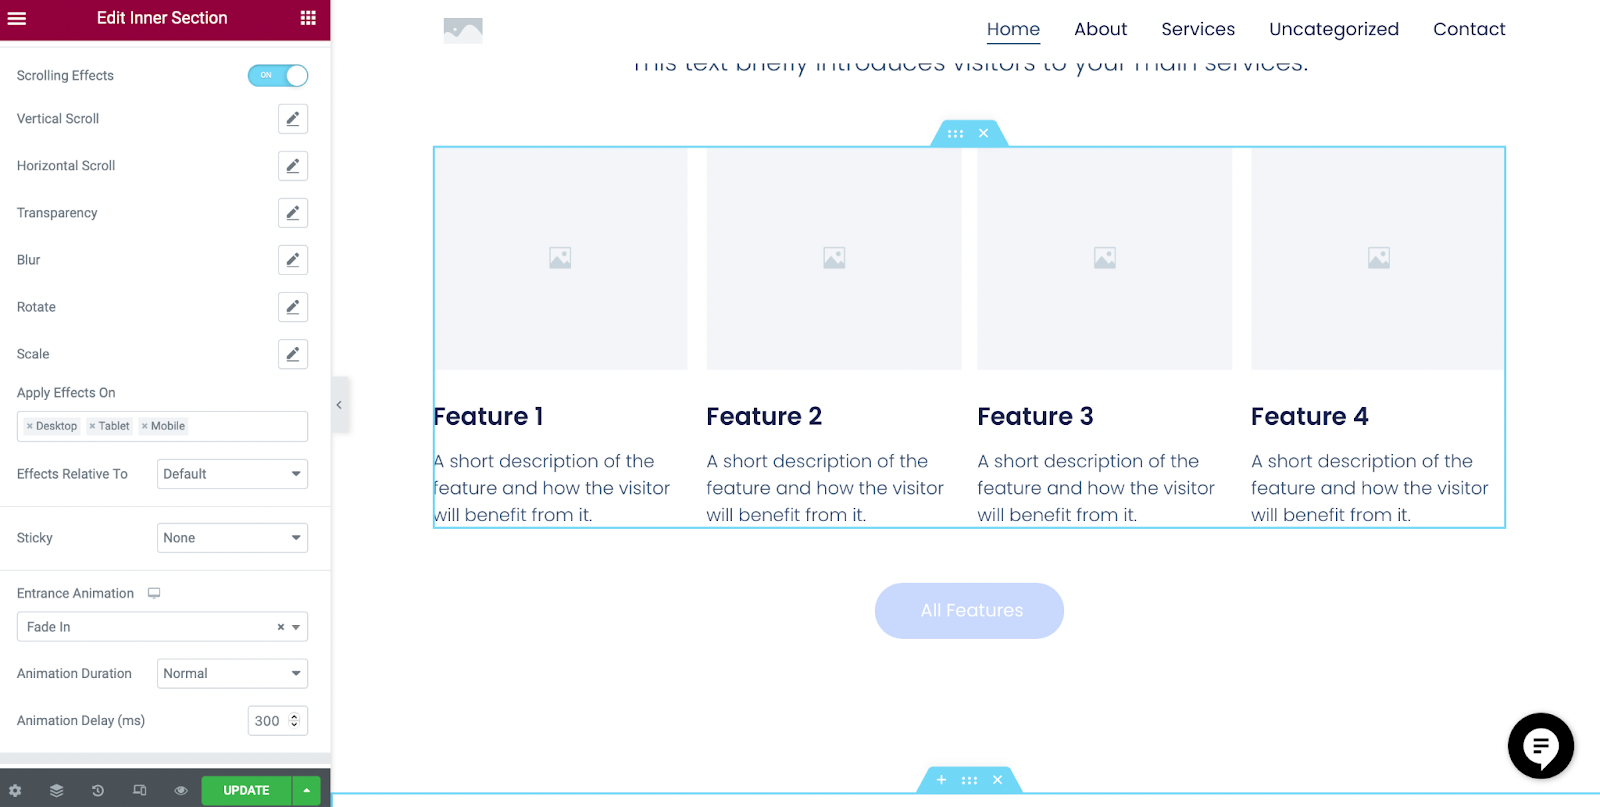
But the process of editing is not limited to text or images. You can introduce fancy animated effects such as motion effects on scrolling. Such an effect can help you create a more dynamic scrolling experience and can convey a feeling that your website is alive.
For example, here, I defined the “Fade In” effect with a duration of 300 ms for the section that comes after the Hero section and describes features that our product offers:
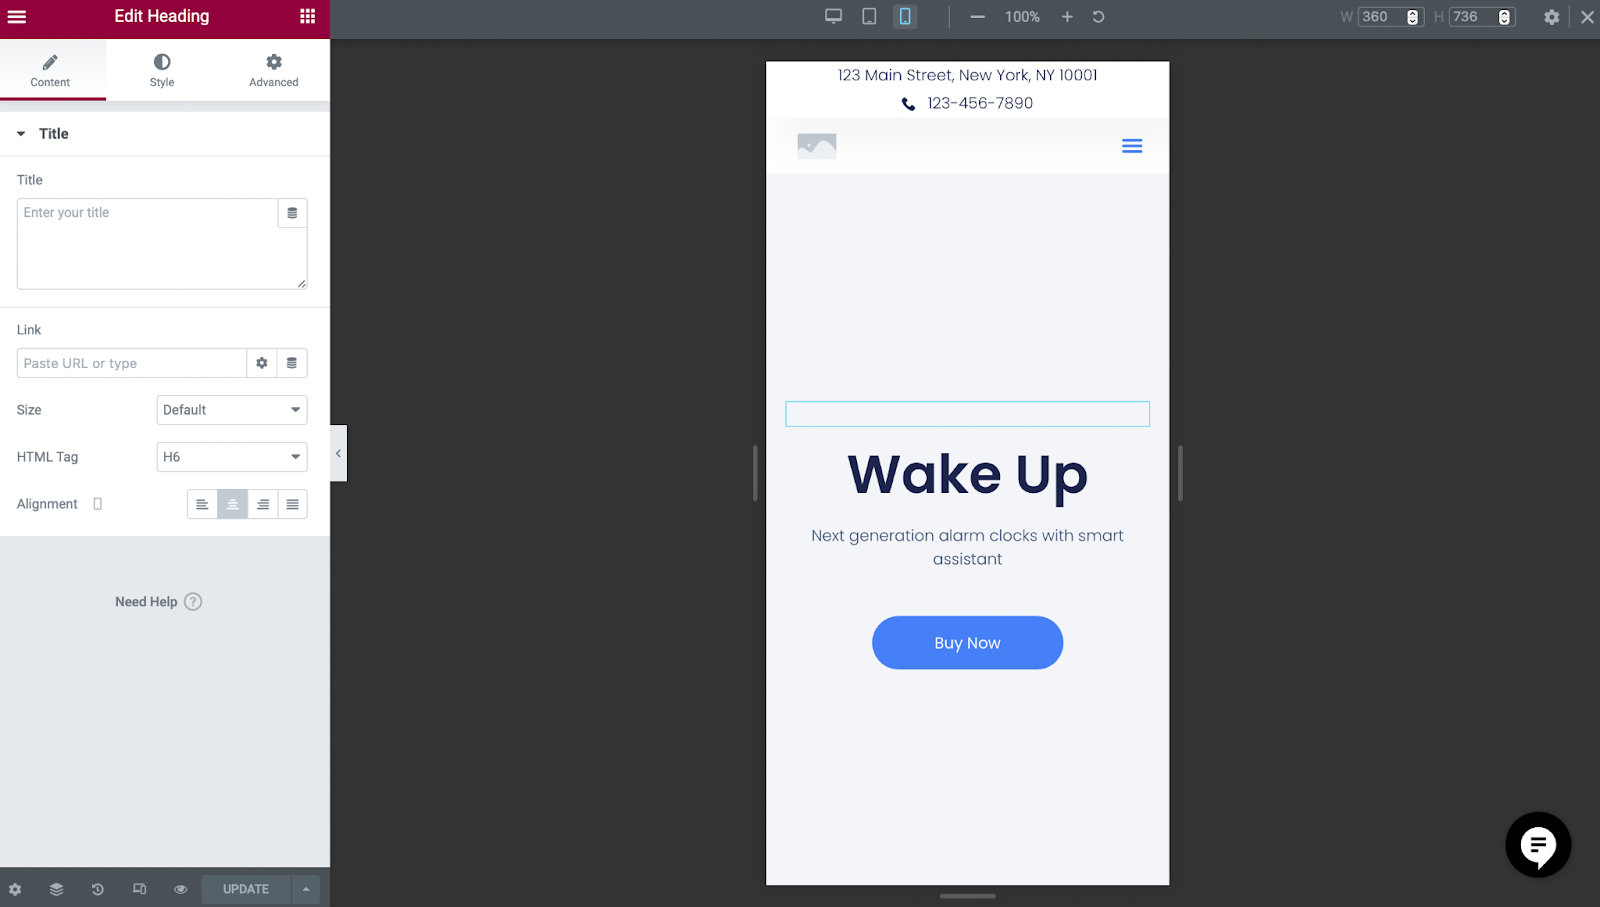
The great thing about the Elementor editor is that you can check how your website looks on mobile or any other medium. Simply click “Responsive” Mode in the bottom left menu (next to the button “Update”) and click on the “Mobile” option. What you will see is how your website will look on mobile devices:
With Elementor, customization is key. Want to change the font? Easy. Need to adjust the spacing? No problem. Everything you need is right there in the panel on the left. You can even add animations to make your site more dynamic. And if you ever get stuck, Elementor’s support team and community forums are just a click away.
While the free version of Elementor is pretty powerful, Elementor Pro takes things to the next level. With Pro, you get access to even more widgets, a theme builder that lets you design your entire site (header, footer, and everything in between), and a popup builder to help you capture leads. Plus, you can integrate with marketing tools like Mailchimp and Zapier, making it easier to grow your business.
Once you’ve finished designing your website, there are two important steps left: creating a backup and connecting your domain name. You know what they say—there are two types of people in the world: those who back up their data and those who have lost everything at least once. Fortunately, Elementor Cloud Website makes the backup process simple and stress-free.
To set up backups, just click on the “Manage This Website” option and head over to the “Backups” section. Here’s the great news: Elementor automatically creates backups of your website every 24 hours, so you’re always covered. But if you want to create an additional backup—maybe before making a big change—you can easily do that with the “Create new backup” option.

Now, let’s talk about connecting your domain name. This is a crucial step to make your website accessible to the world. You can link your custom domain directly from the same management page under the “Manage Domain” section. Unlike some other platforms that charge extra for connecting a custom domain, Elementor Cloud Website lets you do this at no additional cost—no hidden fees, just straightforward setup.
You’ll also notice that your website automatically comes with an SSL certificate enabled. Elementor Cloud Website provides a free Secure Socket Layer (SSL) certificate from Cloudflare, which is a big win for both security and SEO. Google tends to rank SSL-secured sites higher, and it also ensures that visitors won’t encounter any scary “Not Secure” warnings in their browsers when entering data on your site. If you prefer, you can even install your own SSL certificate.
Once you’ve connected your custom domain, it’s time to let the world see your creation. You can safely turn off “Site Lock” to allow search engines to index and discover your website. This option is also conveniently located in the same management section.
This article was brought to you by Smashing Magazine, where we’re all about helping you create better websites. Keep learning, keep building, and happy WordPress-ing!